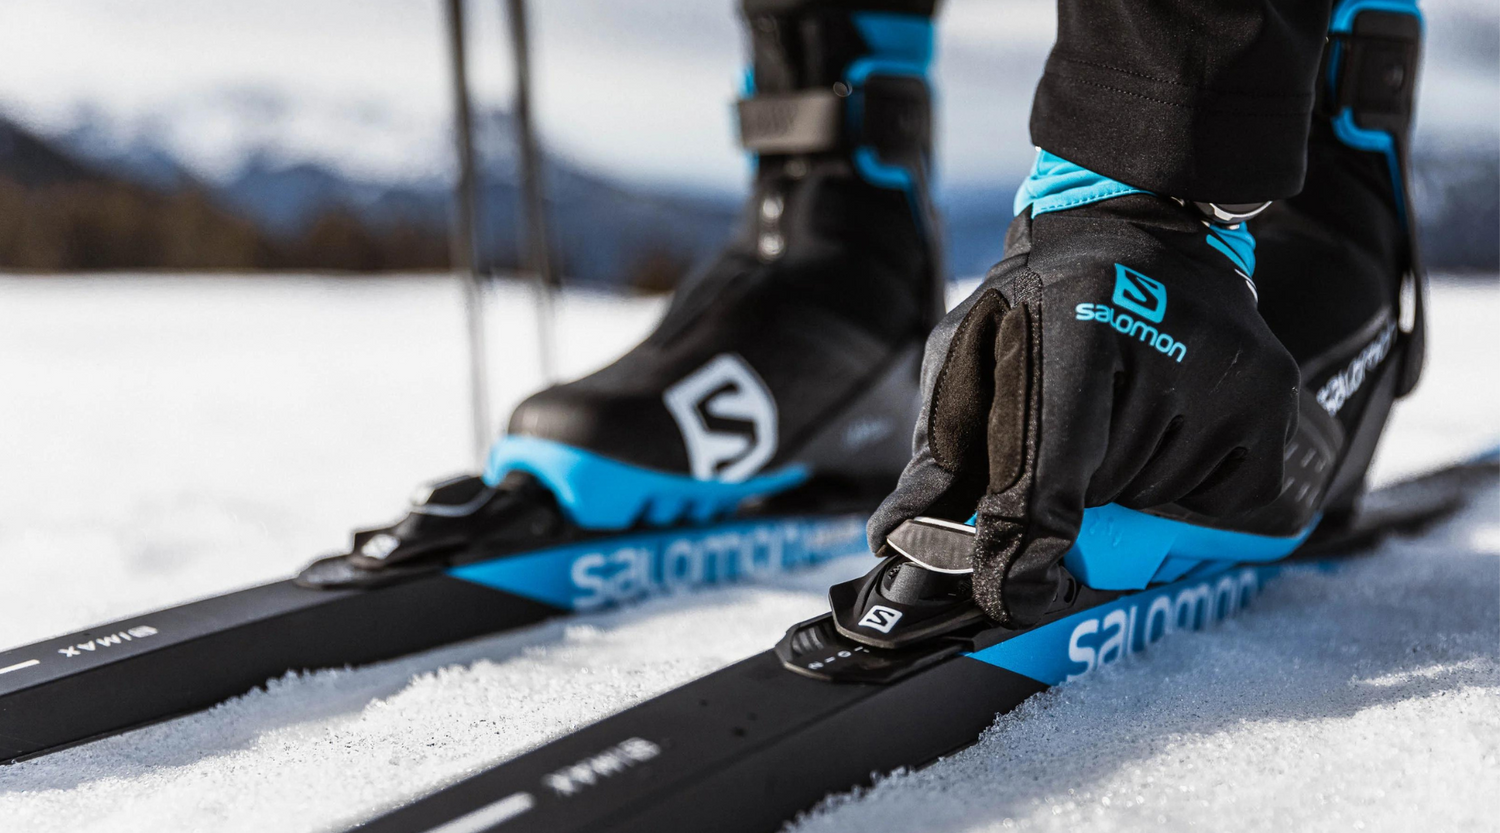
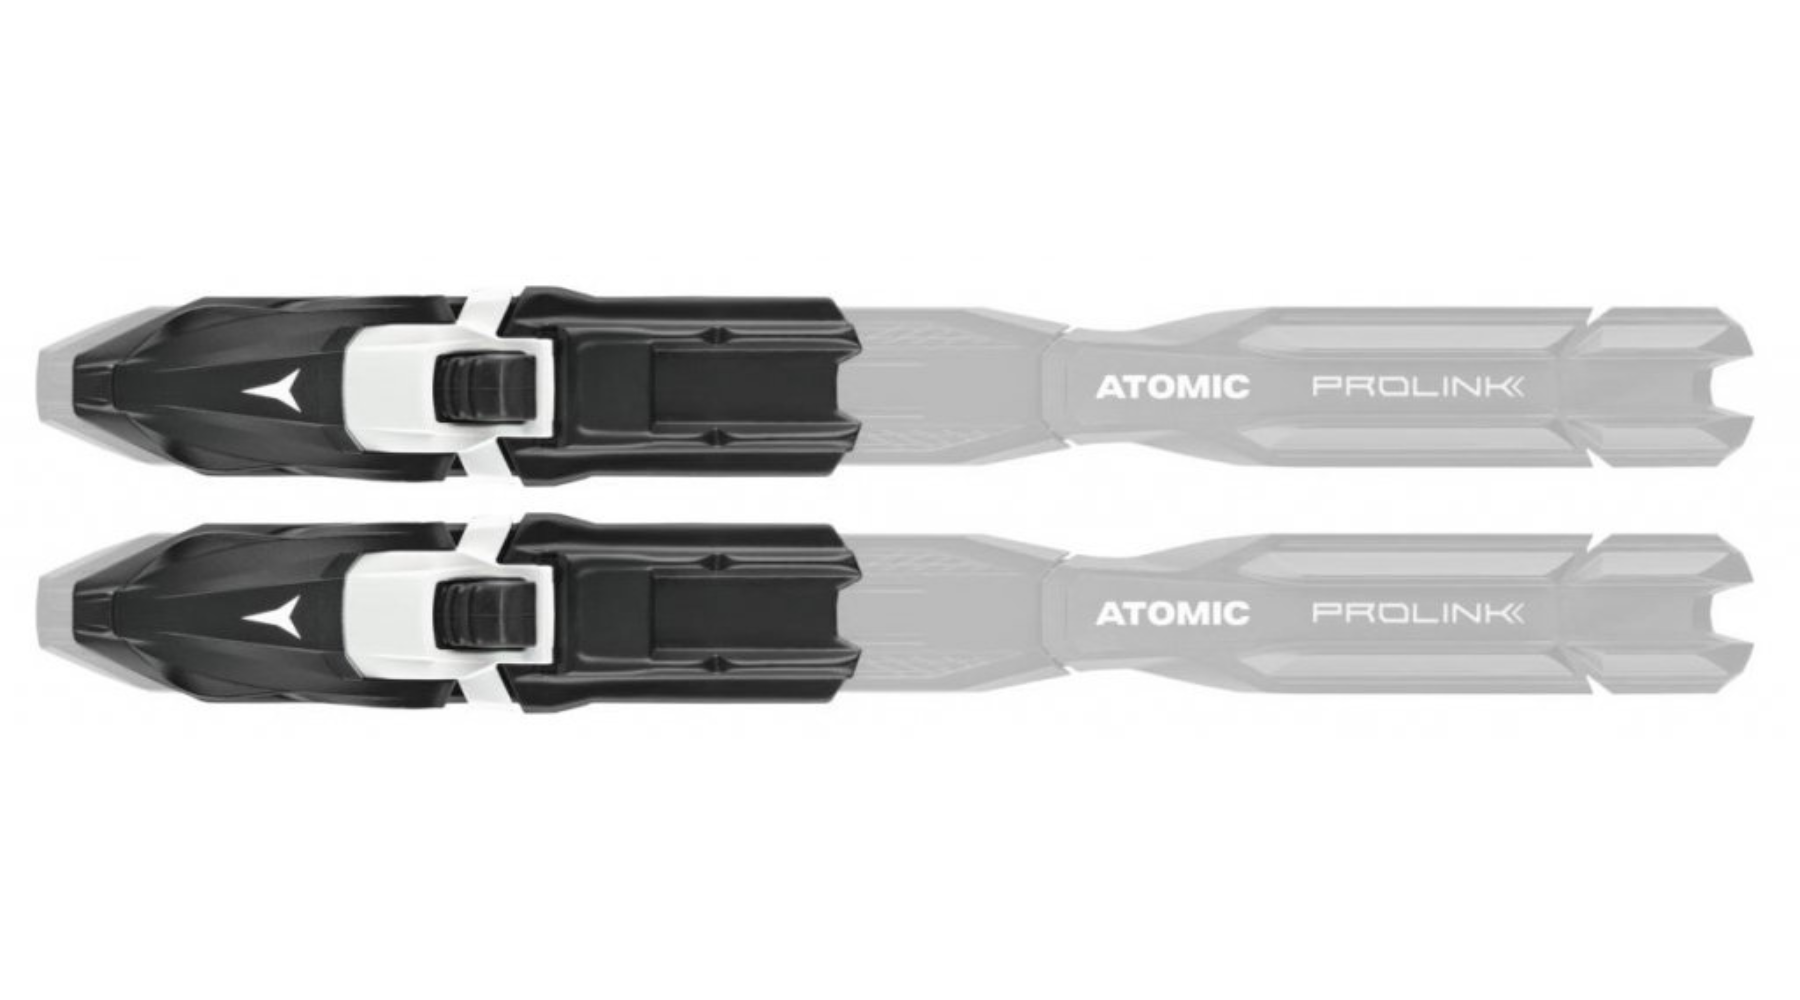
Atomic and Salomon released the Shift-In binding system for the 21/22' season on a number of their classic skis. They come standard on multiple models of mid to race level Skate and Classic skis from both brands and were the only major competitor to the Move System bindings from Rottefella. This has been a huge selling point for many of the skis that come standard with this binding as it ends up saving a large cost over adding even a more basic binding.
The Shift-In system currently requires a specific plate that is epoxied to the ski during production which means it is only available on new Salomon and Atomic skis and cannot be added to a flat or previously mounted ski. We have had excellent luck with these plates and bindings both on the durability and ease of use side of things!
How to move: Moving the Shift-In bindings is as easy as it gets. All you need to do is grab the dial that sits in front of the binding (marked with a white line down the center) and turn the dial either way. Moving the dial clockwise will move the binding forward and moving the dial counterclockwise will move the binding backwards.
How to mount: Mounting the Shift-In binding is a little more in-depth but it is still very easy and does not require and specific tools. To start you will want to turn the moving dial 90 degrees so that it is perpendicular to the direction you will slide the binding on. Slide the binding onto the plate (making sure that both sides are engaged) until it comes to a full stop. Then turn the dial counterclockwise to slide the binding back into whichever position you prefer.
-The main thing to look out for is to make sure you see the entirety of the numbers when you have it fully mounted, if you do not get the bindings on properly you will have half the number showing and the binding will sit in a middle area. If you run into this, slide the binding all the way off again and make sure you are sliding the binding all the way to a complete stop before turning the moving dial.
Why adjust the binding: 0 is considered the balance point or where we have always mounted screw in bindings in the past. If you move the binding forward to the positive numbers you are moving it forward and the negative numbers are backwards.
Since these bindings come on both classic and skate skis there are a multitude of reasons why you would want to be moving them!
By moving the Shift-In binding forward on a classic ski, you are moving the binding over the effective camber of the ski which allows the ski to compress easier and with less bodyweight transfer. This is especially helpful when you are struggling to kick a ski and makes the ski more accessible for climbing.
Moving the binding backwards on a classic ski allows for less weight over the camber and less engagement of the skin when you are making minor movements from foot to foot on skis like when you are step-turning or simply double poling and trying to get as much glide as possible. If conditions are new and slow, moving the bindings back could help get a little extra glide.
When you adjust the binding on a skate ski you are still moving around the camber of the ski in the same way but you are going to obviously have different results and impacts on how the ski performs.
By moving the Shift-In binding forward on a skate ski you are centering your weight over the camber, which applies more weight across the entirety of the ski and specifically the front half of the ski. This helps you gain more effective edge in contact with the snow which helps track and steer when conditions are icy and hard packed.
Moving the binding backwards on a skate ski is a little more straightforward, the main goal is to take weight off the front of the ski and allow the tip to float more when conditions are soft.


